前言
GAMES101作业系列为GAMES101作业记录(包含作业1-8),文章中会解释作业内容并附上代码,同时对代码框架进行简要说明。
已完成的代码可在我的GitHubGAMES101作业代码仓库获取。
GAMES101课程相关基础知识可参看本博客GAMES101知识梳理系列。
作业描述
任务说明
本次作业需要绘制出代码中硬编码给出的三个点所构成的三角形,通过将其三维空间坐标变换为屏幕坐标绘制出三角形(代码框架中提供draw函数用于绘制三角形)。
代码框框架仅留下了变换过程中的模型变换和投影变换由我们完成。
主要工作如下:
- 完成模型变换矩阵
- 完成投影变换矩阵
- 提高:完成绕任意轴旋转的矩阵
也就是说本次作业的任务是完成如下模型变换和透视投影变换函数:
get_model_matrix(float rotation_angle);//模型变换矩阵,本次作业中只需要实现三维中绕Z轴旋转的变换矩阵,而不用处理平移与缩放
get_projection_matrix(float eye_fov, float, aspect_ratio, float,zNear, float zFar);//投影变换矩阵
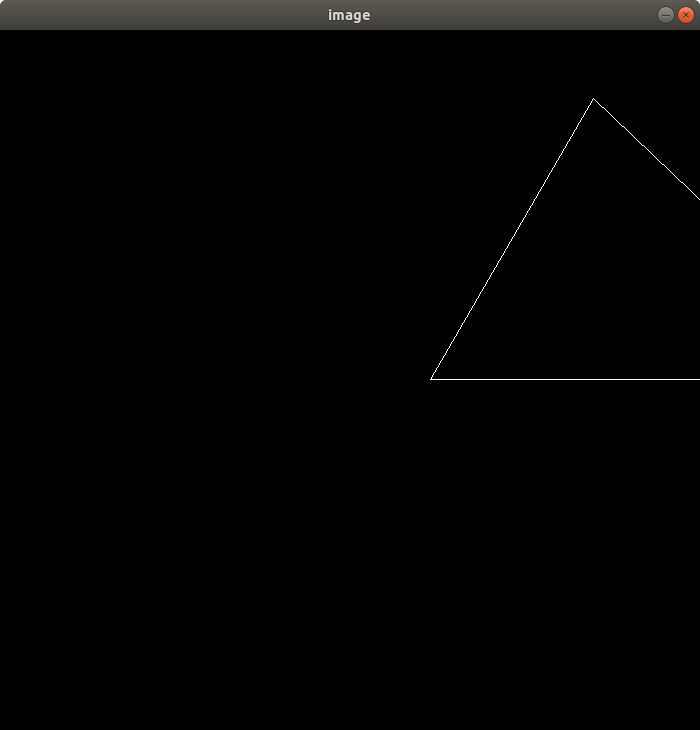
正确完成后,光栅化器会逐帧绘制出三角形,并且使用A/D键可以实现三角形逆/顺时针旋转,按下Esc键窗口关闭,程序终止。
重点提要
本次作业需要对课程中M.V.P变换的理解,重点在于三维旋转和透视投影变换的过程以及它们的矩阵表示,提高部分需要使用罗德里格斯旋转公式。
本次作业基础知识梳理可参看本博客GAMES101知识梳理:变换。
完成作业
基础
//模型变换矩阵
Eigen::Matrix4f get_model_matrix(float rotation_angle)
{
    Eigen::Matrix4f model = Eigen::Matrix4f::Identity();

    // TODO: Implement this function
    // Create the model matrix for rotating the triangle around the Z axis.
    // Then return it.

    float rAngleRad = rotation_angle / 180 * MY_PI;
    model <<
        cos(rAngleRad), -sin(rAngleRad), 0, 0,
        sin(rAngleRad), cos(rAngleRad), 0, 0,
        0, 0, 1, 0,
        0, 0, 0, 1;

    return model;
}
以上为模型变换矩阵,没有什么特别之处,套用绕Z轴旋转矩阵即可。
唯一需要注意的是框架中的旋转角度是角度制表示,在进行三角函数计算前需先转为弧度制。
绕Z轴旋转矩阵
//透视投影矩阵
Eigen::Matrix4f get_projection_matrix(float eye_fov, float aspect_ratio, float zNear, float zFar)
{
    Eigen::Matrix4f projection = Eigen::Matrix4f::Identity();

    float fov_rad = eye_fov / 180 * MY_PI;
    float n = -zNear, f = -zFar;
    float t = abs(n) * tan(fov_rad / 2);
    float b = -t;
    float r = t * aspect_ratio;
    float l = -r;

    Eigen::Matrix4f persp2ortho = Eigen::Matrix4f::Identity();
    Eigen::Matrix4f ortho1 = Eigen::Matrix4f::Identity();
    Eigen::Matrix4f ortho2 = Eigen::Matrix4f::Identity();
    persp2ortho <<
        n, 0, 0, 0,
        0, n, 0, 0,
        0, 0, n + f, -n * f,
        0, 0, 1, 0;
    ortho1 <<
        1, 0, 0, -(r + l) / 2,
        0, 1, 0, -(t + b) / 2,
        0, 0, 1, -(n + f) / 2,
        0, 0, 0, 1;
    ortho2 <<
        2 / (r - l), 0, 0, 0,
        0, 2 / (t - b), 0, 0,
        0, 0, 2 / (n - f), 0,
        0, 0, 0, 1;

    projection = ortho1 * ortho2 * persp2ortho;

    return projection;
}
以上为透视投影矩阵。这里需要特别注意的是如果直接将zNear和zFar当作n和f,渲染出的三角形会是颠倒的。这是因为代码框架中调用该函数时,输入的zNear和zFar是正值,且zNear < zFar,因此我们应将其当成是视锥体近远裁剪面与相机间的距离,在计算前需要将其先取反转换为坐标,得到n和f,即n=-zNear,f=-zFar。
效果
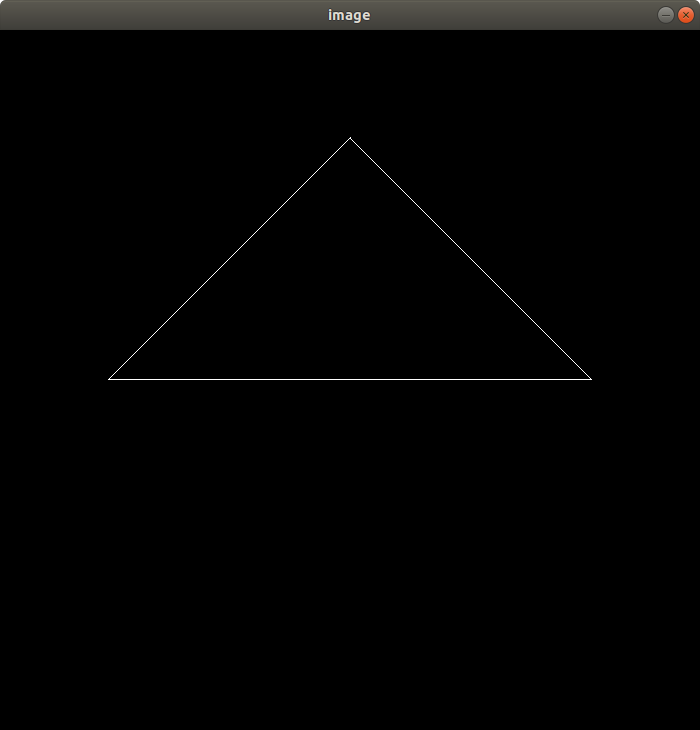
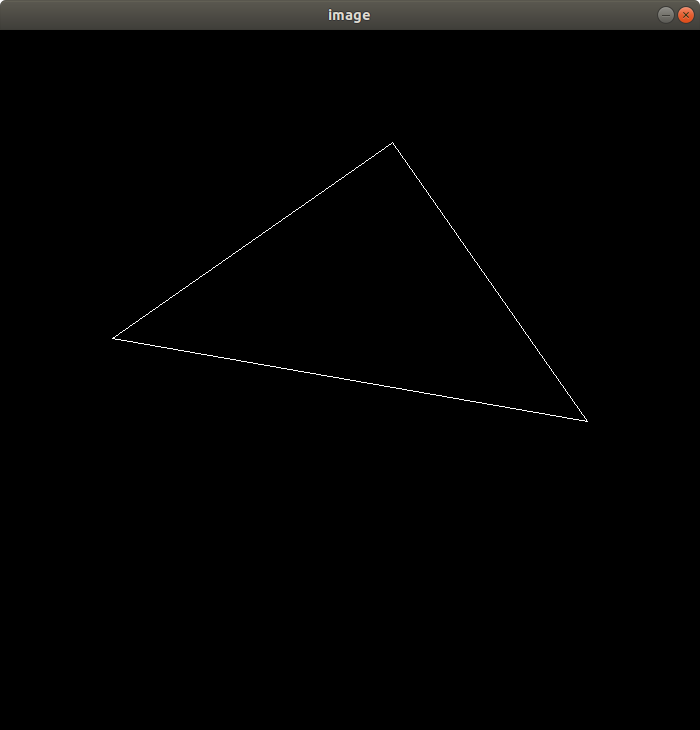
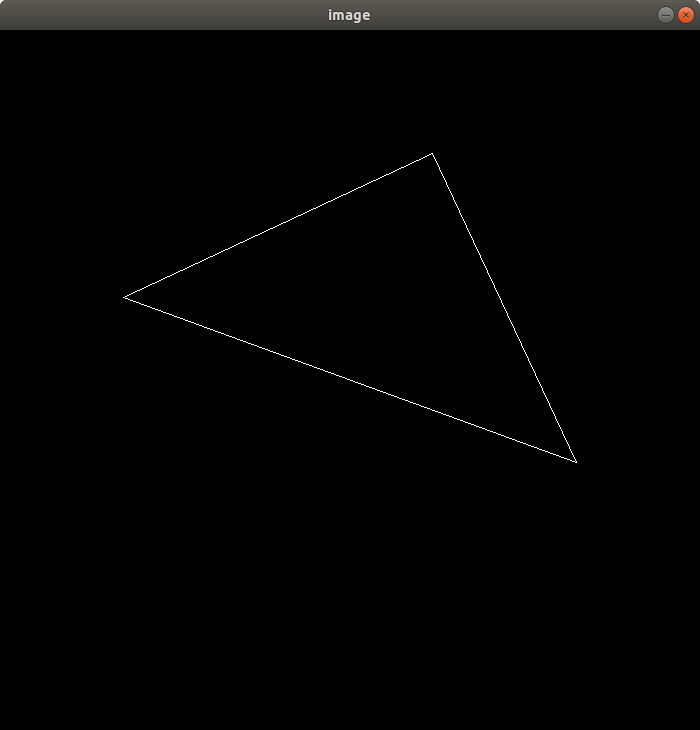
提高
Eigen::Matrix4f get_rotation(Eigen::Vector3f axis, float angle)
{
    float angle_rad = angle / 180 * MY_PI;
    Eigen::Vector3f n;
    Eigen::Matrix3f I, N, Rodrigues;
    Eigen::Matrix4f rotation = Eigen::Matrix4f::Identity();

    n = axis.normalized();//归一化旋转轴
    I <<
        1, 0, 0,
        0, 1, 0,
        0, 0, 1;
    N <<
        0, -axis.z(), axis.y(),
        axis.z(), 0, -axis.x(),
        -axis.y(), axis.x(), 0;

    Rodrigues = cos(angle_rad) * I + (1 - cos(angle_rad)) * n * n.transpose() + sin(angle_rad) * N;
    rotation.block<3, 3>(0, 0) = Rodrigues;
    rotation(3, 3) = 1;

    return rotation;
}
套用罗德里格斯旋转公式即可,公式如下(公式推导参考:3D Math Primer for Graphics and Game Development - Ch5.1.3)
代码中先将输入的过原点的旋转轴归一化为单位向量n,根据公式写出矩阵。代码中先计算出的Rodrigues矩阵是一个三维矩阵,我们需要使用齐次坐标变换,应该是四维矩阵,所以最后将Rodrigues矩阵填入rotation矩阵的左上角,并将右下角元素填为1。
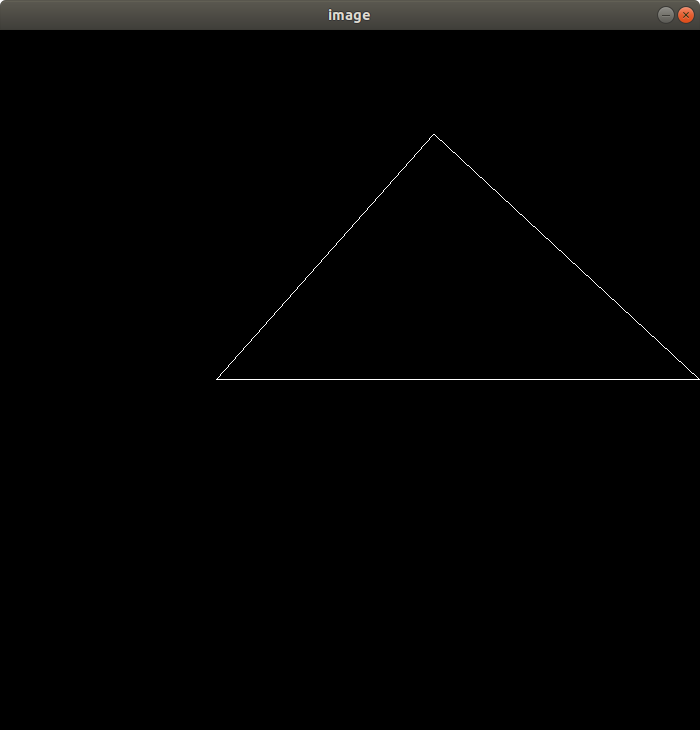
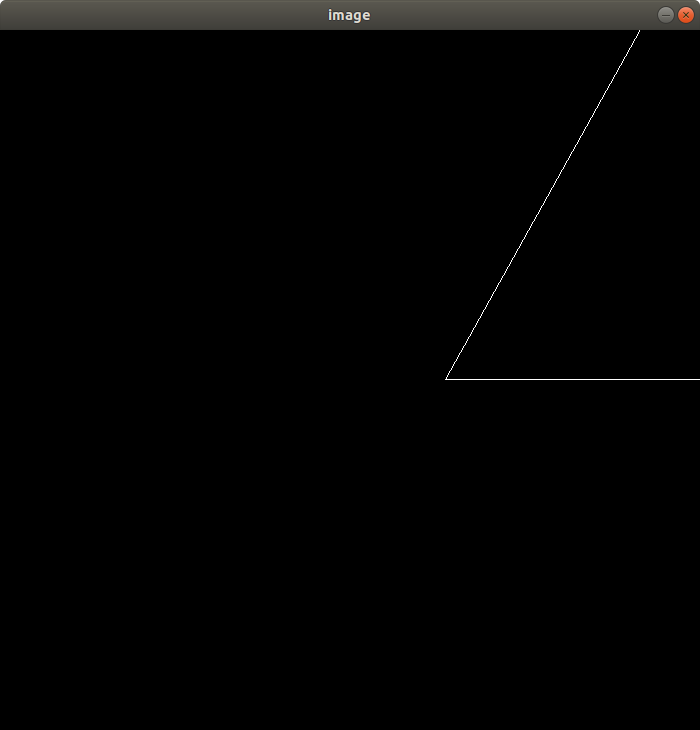
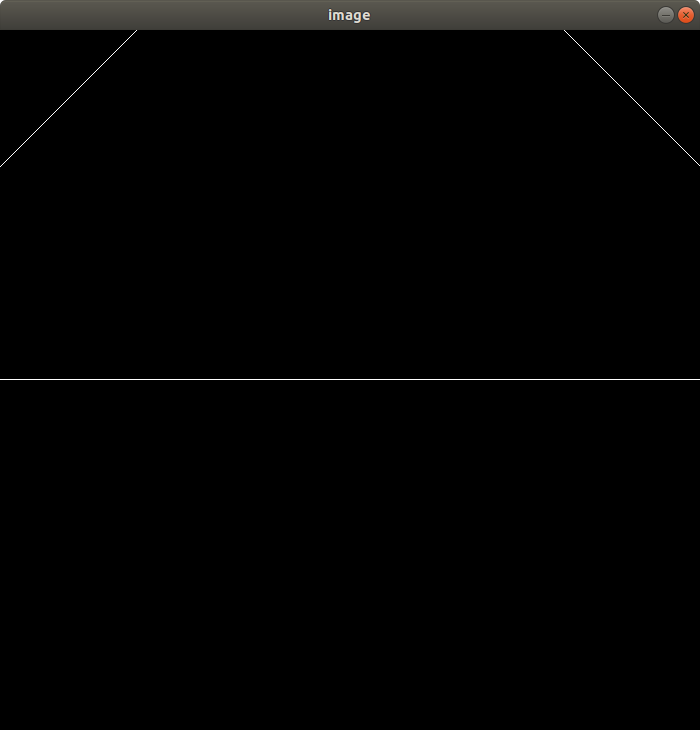
效果
绕旋转
代码框架说明
下面将代码框架主要分为三角形类和光栅化渲染器类分别说明。
注意事项
- 为了说明更加清晰,下面的代码框架分析中选择将类分为数据成员与成员函数进行说明,而不是按照声明类体的顺序。
- 代码框架中部分数据成员与成员函数是为后续作业准备,本次作业不需要使用。
Triangle
三角形类,主要作用是对顶点坐标、颜色、法线、纹理等信息的存储。
数据成员
Vector3f v[3];//存储顶点
Vector3f color[3];//存储顶点颜色信息,本次作业不需要
Vector2f tex_coords[3];//存储顶点纹理坐标,本次作业不需要
Vector3f normal[3];//存储顶点法线
成员函数
Eigen::Vector3f a() const { return v[0]; }//返回第一个顶点坐标
Eigen::Vector3f b() const { return v[1]; }//返回第二个顶点坐标
Eigen::Vector3f c() const { return v[2]; }//返回第三个顶点坐标

void setVertex(int ind, Vector3f ver);//将顶点ver存储为v[ind]
void setNormal(int ind, Vector3f n);//将法线n存储为normal[ind]
void setColor(int ind, float r, float g, float b);//设定顶点颜色
void setTexCoord(int ind, float s, float t);//设定顶点纹理坐标
std::array<Vector4f, 3> toVector4() const;//第四维补1,转为齐次坐标
rasterizer
光栅化渲染器类,主要用于实现光栅化渲染的全过程。
Buffers
//区分缓冲区
enum class Buffers
{
    Color = 1,
    Depth = 2
};
//重载位运算符
inline Buffers operator|(Buffers a, Buffers b)
{
    return Buffers((int)a | (int)b);
}
inline Buffers operator&(Buffers a, Buffers b)
{
    return Buffers((int)a & (int)b);
}
//上面的定义用于清除缓冲区时进行选择,选择清楚帧缓冲区还是深度缓冲区还是两者都清除

//区分绘制的图元种类,本次作业代码框架中draw函数仅实现了Triangle图元绘制
enum class Primitive
{
    Line,
    Triangle
};

//如下两个结构体是为了防止调用draw函数时参数列表中输入pos_id和ind_id顺序错误,因为两者类型都是int,输入顺序错误该函数仍然会编译,而导致出现错误,而这种问题往往不便于检查。因此,使用如下结构体将两者“变为不同类型”,这样,当输入顺序错误时函数不会被编译。这就是所谓的“类型安全”。
struct pos_buf_id
{
    int pos_id = 0;
};
struct ind_buf_id
{
    int ind_id = 0;
};
数据成员
Eigen::Matrix4f model;//模型变换矩阵
Eigen::Matrix4f view;//视图变换矩阵
Eigen::Matrix4f projection;//透视投影变换矩阵

std::map<int, std::vector<Eigen::Vector3f>> pos_buf;//存储所有三角形的顶点位置信息,以<三角形索引值,三角形三个顶点坐标数组>的键值对形式
std::map<int, std::vector<Eigen::Vector3i>> ind_buf;//存储各点在对应三角形中的索引信息,以<三角形索引值,该三角形内三个点的索引(0,1,2)>的键值对形式

std::vector<Eigen::Vector3f> frame_buf;//帧缓冲区
std::vector<float> depth_buf;//深度缓冲区

int width, height;//屏幕宽高
int next_id = 0;//下一个索引
成员函数
rasterizer(int w, int h);//构造函数,设定屏幕大小

pos_buf_id load_positions(const std::vector<Eigen::Vector3f>& positions);//读入点的索引和其位置的键值对,并返回点总数的索引数(此处有一个int到struct pos_buf_id的隐式转换)
ind_buf_id load_indices(const std::vector<Eigen::Vector3i>& indices);//读入图元(三角形)的索引和其中各点在图元中索引的键值对,并返回图元总数的索引数(此处有一个int到struct ind_buf_id的隐式转换)

void set_model(const Eigen::Matrix4f& m); //设定模型变换矩阵
void set_view(const Eigen::Matrix4f& v); //设定视图/相机变换矩阵
void set_projection(const Eigen::Matrix4f& p); //设定透视变换矩阵

void set_pixel(const Eigen::Vector3f& point, const Eigen::Vector3f& color);//将需要绘制的点(屏幕范围内的点)的像素信息存入帧缓冲区frame_buf里

int get_index(int x, int y);//获取像素索引

void clear(Buffers buff);//清除屏幕 将帧缓冲区和深度缓存区清零

std::vector<Eigen::Vector3f>& frame_buffer() { return frame_buf; }//返回帧缓冲区

void rasterize_wireframe(const Triangle& t);//内部调用三次draw_line画出三角形

void draw(pos_buf_id pos_buffer, ind_buf_id ind_buffer, Primitive type);//见下方分析

void draw_line(Eigen::Vector3f begin, Eigen::Vector3f end);//使用Bresenham's line drawing algorithm,绘制两点之间的线段。在其中调用了set_pixel完成对帧缓冲区frame_buf的构建。
draw
draw函数中实现了视口变换,并绘制出三角形
void rst::rasterizer::draw(rst::pos_buf_id pos_buffer, rst::ind_buf_id ind_buffer, rst::Primitive type)
{
    if (type != rst::Primitive::Triangle)
    {
        throw std::runtime_error("Drawing primitives other than triangle is not implemented yet!");
    }
    auto& buf = pos_buf[pos_buffer.pos_id];//buf存储当前索引对应点的位置信息
    auto& ind = ind_buf[ind_buffer.ind_id];//ind存储当前索引对应图元(三角形)中各点的索引信息

    float f1 = (100 - 0.1) / 2.0;
    float f2 = (100 + 0.1) / 2.0;

    Eigen::Matrix4f mvp = projection * view * model;
    for (auto& i : ind) //范围for语句遍历每个图元(三角形)
    {
        Triangle t;//创建三角形类对象t

        //对于每个图元(三角形),从buf中读入其各点的空间位置坐标。补1转成齐次坐标,再进行M.V.P变换,将变换后各点的坐标存入v,此处存入的点就是其在[-1,1]^3空间内的坐标
        Eigen::Vector4f v[] = {
                mvp * to_vec4(buf[i[0]], 1.0f),
                mvp * to_vec4(buf[i[1]], 1.0f),
                mvp * to_vec4(buf[i[2]], 1.0f)
        };

        //除以第四维w,变成(x,y,z,1)形式,上面补的w是1,所以这里不做也一样
        for (auto& vec : v) {
            vec /= vec.w();
        }

        //视口变换
        for (auto & vert : v)
        {
            vert.x() = 0.5*width*(vert.x()+1.0);//X轴范围从[-1,1]变换为[0,width]
            vert.y() = 0.5*height*(vert.y()+1.0);//Y轴范围从[-1,1]变换为[0,height]
            vert.z() = vert.z() * f1 + f2;
        }

        //到这一步,三角形顶点的X,Y坐标已经对应了屏幕的坐标,后面便是对三角形对象t进行构建

        //v前三维坐标对应三角形顶点的X,Y,Z坐标
        for (int i = 0; i < 3; ++i)
        {
            t.setVertex(i, v[i].head<3>());
            t.setVertex(i, v[i].head<3>());
            t.setVertex(i, v[i].head<3>());
        }

        t.setColor(0, 255.0,  0.0,  0.0);
        t.setColor(1, 0.0  ,255.0,  0.0);
        t.setColor(2, 0.0  ,  0.0,255.0);

        rasterize_wireframe(t);
    }
}
main
int main(int argc, const char** argv)
{
    float angle = 0;
    bool command_line = false;
    std::string filename = "output.png";

    if (argc >= 3) {
        command_line = true;
        angle = std::stof(argv[2]); // -r by default
        if (argc == 4) {
            filename = std::string(argv[3]);
        }
    }

    rst::rasterizer r(700, 700);

    Eigen::Vector3f eye_pos = {0, 0, 5};

    std::vector<Eigen::Vector3f> pos{{2, 0, -2}, {0, 2, -2}, {-2, 0, -2}};

    std::vector<Eigen::Vector3i> ind{{0, 1, 2}};

    auto pos_id = r.load_positions(pos);//读入上述点的位置信息,并返回三角形的索引数
    auto ind_id = r.load_indices(ind);//读入上述索引信息,并返回三角形的索引数

    int key = 0;
    int frame_count = 0;

    //未使用命令行,命令行代码略去

    while (key != 27) {
        r.clear(rst::Buffers::Color | rst::Buffers::Depth);

        //提高部分使用
        // Eigen::Vector3f axis(0, 1, 0);
        // r.set_model(get_rotation(axis, angle));

        //获取mvp变换矩阵
        r.set_model(get_model_matrix(angle));
        r.set_view(get_view_matrix(eye_pos));
        r.set_projection(get_projection_matrix(45, 1, 0.1, 50));
        //绘制三角形
        r.draw(pos_id, ind_id, rst::Primitive::Triangle);

        //创建图片并显示
        cv::Mat image(700, 700, CV_32FC3, r.frame_buffer().data());
        image.convertTo(image, CV_8UC3, 1.0f);
        cv::imshow("image", image);
        key = cv::waitKey(10);

        std::cout << "frame count: " << frame_count++ << '\n';

        if (key == 'a') {
            angle += 10;
        }
        else if (key == 'd') {
            angle -= 10;
        }
    }
    return 0;
}
程序中buffer的说明
代码中各个buffer是程序运行过程中数据存储、计算、转移最重要的载体。在理解代码框架的过程中,各个buffer在程序运行过程中的变化是困扰我最多的。
为了加深理解,这里对各个buffer的进行简要分析。
代码框架中的buffer如下
// rasterizer.hpp
std::map<int, std::vector<Eigen::Vector3f>> pos_buf;
std::map<int, std::vector<Eigen::Vector3i>> ind_buf;
std::vector<Eigen::Vector3f> frame_buf;
std::vector<float> depth_buf;//本次作业不需要
其中pos_buf和ind_buf都有一个结构体封装这其容器元素的索引,此处封装的目的仅仅是为了防止调用draw函数时因为两者数据类型相同而搞错顺序,如下
// rasterizer.hpp
struct pos_buf_id
{
    int pos_id = 0;
};
struct ind_buf_id
{
    int ind_id = 0;
};
下面以main中的输入为例进行分析
// main.cpp
std::vector<Eigen::Vector3f> pos{{2, 0, -2}, {0, 2, -2}, {-2, 0, -2}};
std::vector<Eigen::Vector3i> ind{{0, 1, 2}};

auto pos_id = r.load_positions(pos);
auto ind_id = r.load_indices(ind);
首先,在main函数中,使用load_positions和load_indices函数将三角形顶点和其内部索引值分别读入pos_buf和ind_buf。
需要说明的是,pos_buf和ind_buf将索引和元素作为键值对存储。
其中pos_buf每个键值对的值是单个三角形三个顶点的坐标,是一个内含三个Vector3f向量的vector。
而ind_buf每个键值对的值是单个三角形三个顶点在该三角形内部的索引,是一个内含一个Vector3i向量的vector。
此时,两个buffer中存储情况如下
pos_buf: { < 0, {{2, 0, -2}, {0, 2, -2}, {-2, 0, -2}} > }
ind_buf: { < 0, {{0, 1, 2}} > }
两者中都只有如上所示的一个键值对。此时其对应结构体中的索引值都是0。
两者的数据在draw函数中使用
// rasterizer.cpp  draw()
auto& buf = pos_buf[pos_buffer.pos_id];
auto& ind = ind_buf[ind_buffer.ind_id];
在draw函数中,buf取出pos_buf[0],ind取出ind_buf[0]。
两者的存储情况为
buf: {{2, 0, -2}, {0, 2, -2}, {-2, 0, -2}}
ind: {{0, 1, 2}}
然后在draw函数中的范围for语句里,使用ind中的三个内部索引值分别取出buf对应的三个Vector3f(即ind中0对应取出buf中{2,0,-2},以此类推),转换成齐次坐标后进行mvp变换和视口变换。使用变换完成的坐标构建三角形类对象,并设定颜色。
在draw_line函数中调用set_pixel函数,根据绘制的情况,将像素信息存入frame_buf。frame_buf中按行列顺序依次存储各个像素的颜色。
最后使用opencv根据frame_buf存储像素的信息生成一帧图像。
